Design technologies to learn about the surface of a mystery moon and use NASA Mars data to choose a landing site for a rover!
How to Teach These Units
Remote Sensing Investigation
Play the game and level up!
|
Remote Sensing Investigation – Letter to Families
Letter to Families
|
|
|
Remote_Sensing_Investigation_Guide
Remote Sensing Investigation Guide
|
|
|
Remote_Sensing_Investigation_Data_Packet
Remote Sensing Investigation Data Packet
|
Remote Sensing FAQs
How much do I need to know about planetary science and remote sensing technology in order to teach this unit?
How long does this unit take? How much preparation is involved?
Do I need an assistant to run this unit? Is there special equipment needed?
What can be cut out if time is short?
How many youth should be in each group?
How much will the materials cost? Do I have to use the exact materials listed?
Where can I find a glossary of terms and acronyms used in this unit?
What are some everyday examples of remote sensing?
Is there a quick reference that explains all the acronyms used?
Is there an easier way to communicate the significance of landforms to youth?
How far can a rover travel?
How can I introduce topographic maps to youth prior to the activity?
What are some resources I can use to explain spectroscopy to youth?
Is there a correct answer?
As the educator, should I have made a successful tower prior to leading this activity?
What is the difference between criteria and constraints? What are some relatable examples?
How can I get youth to think about improvements to already new technologies?
What are some ways I can foster curiosity and ingenuity in youth while playing with the mirrors and periscopes?
Is there a way to make a message indiscernible without the filters and legible with the filters?
What else can optical filters do?
What if someone in our group is color-blind?
What are some things that work well when trying to make a hidden message?
What is LiDAR? How much do I need to know about it?
Why would you use the low-resolution LiDAR when the high resolution is so much better?
How can I explain the relationship between the plastic straws and LiDAR?
Why is 3D mapping important?
This activity is term-heavy. Where can I find a glossary of terms like “pixel” and “resolution”?
Should the youth engineer devices that are different from those already used? Can there be more than one device?
Is there a way to structure this activity so that it is self-paced?
How do we help kids with failure?
How can I get youth to communicate their data clearly? How can I provide more scaffolding for this concept?
What are some other constraints that I can add to inspire improvements?
Should youth devices look similar to each other?
How can we help youth who do not want to modify what they have made?
How do we help kids with failure?
What is a mineral? What are iron and magnesium and why might we want to find them on the Mystery Moon?
How can I get my parents and organization excited about the Engineering Showcase?
I have never done this before. What are some resources I can use to plan a Showcase?
NASA Resources
NASA Videos
What is Technology?
Youth consider the definition of technology as any thing or process humans (engineers) design to solve a problem.
Youth Will Know
- A technology is any thing designed by humans to solve a problem.
- Engineers design and improve technologies.
- There are always opportunities to improve existing technologies.
Activity Downloads
|
P2_What_Is_Technology_Educator_Guide
What Is Technology Educator Guide
|
|
|
P2_What_Is_Technology_Engineering_Journal
What Is Technology Engineering Notebook (English)
|
|
|
P2_What_Is_Technology_Engineering_Journal_Spanish
What Is Technology Engineering Notebook (Spanish)
|

Setup
The Educator Guide has a script, materials list, and prep directions. Be sure to have it open and ready to help guide you through every activity.
- Post the Engineering Design Process poster.
- Copy and cut out the Technology Match Cards, Educator Guide pp. 13–23: one for each student or group.
- Watch and prepare to play the Engineering Everywhere Special Report video (9:51).

Guiding Question
What is technology and how can it solve problems?

Youth Will Do
- Match technologies based on the problem they solve.
- Imagine ways to improve the newer versions of technologies.
Did You Know?
- People can turn almost any thing into technology, if they use it to solve a problem. A rock can be used to grind corn or shaped into an arrowhead.

Quick Tips
- Don't skip the video! It sets the stage for the entire unit.
- If youth are not familiar with the technologies on the cards, have them work in groups to figure out the pairs together.
Glossary
- Technology: any thing designed by humans to solve a problem
- Remote Sensing: to collect information from a distance
Videos
Activity Timing
Quick Links & Resources
Resources
|
Remote-Sensing-Unit-At-A-Glance_0922
Remote Sensing Unit at a Glance
|
|
|
Remote-Sensing-Learning-Progressions_0922
Remote Sensing Learning Progressions
|
|
|
Remote-Sensing-Back-Pocket-Activity-Essentials_0922
Remote Sensing Back Pocket Activity Essentials
|
|
|
Remote-Sensing-Tips-for-Interactivity
Remote Sensing Tips for Interactivity
|
|
|
Remote-Sensing-Vocabulary
Remote Sensing Vocabulary
|
|
|
Developing-21st-Century-Skills
Developing 21st Century Skills
|
Remote Sensing and Mars
Youth explore the idea that NASA scientists are interested in finding evidence of past water on Mars that would indicate habitability. They are challenged to select one of four landing sites for a rover by examining high-resolution images of landforms on Mars.
Youth Will Know
- NASA is interested in learning whether Mars could have once supported life.
- Life on Earth depends on water.
- NASA spacecraft take pictures of Mars and send the images back to Earth as data.
Activity Downloads
|
S1_Introducing_Mars_and_Remote_Sensing_Educator_Guide
Remote Sensing and Mars Educator Guide
|
|
|
S1_Introducing_Mars_and_Remote_Sensing_Science_Notebook
Remote Sensing and Mars Science Notebook
|
|
|
S1_Introducing_Mars_and_Remote_Sensing_Data_Packet
Remote Sensing and Mars Data Packet
|
|
|
S1_Landforms_Glossary
Landforms Glossary
|
|
|
S1_Landing_Site_Ellipses
Landing Ellipses
|
Setup
The Educator Guide has a script, materials list, and prep directions. Be sure to have it open and ready to help guide you through every activity.
- Read through the entire PLANETS Science Series guide.
- Print or copy Science Notebooks, one for each youth.
- Print or copy, and staple Data Packets, Landforms Glossary, and Mineral Data Sheets, from the Educator Guide (color if possible), one for each group.
- Print or copy Landing Ellipses and cut out for each group.
Guiding Question
- What do scientists want to learn about Mars, and why is it necessary to land on the surface?
- What makes a good landing site?
- What NASA remote sensing data are available to help choose a landing site?
Youth Will Do
- Compare landforms on Earth and Mars.
- Interpret image data to find safe and scientifically interesting locations.
Did You Know
Mars still has water; it is just mostly in the form of ice at the poles or trapped in minerals and underground.
Quick Tips
- The Viking, HiRISE, and CTX images are at different scales. The ellipses are to be traced on the CTX (10 km scale bar) images only.
- If your Data Packet prints out small, your landing ellipses will be too big. Have your students draw their own with a pencil.
Glossary
Data: information that is collected through scientific investigation
Evidence: information or data that supports an idea, claim, or belief
Video
Activity Timing
Choose a Landing Site
Youth combine all data to recommend the safest, most interesting landing site.
Youth Will Know
They can use data gathered from remote sensing technology to recommend the safest, most interesting landing site.
Activity Downloads
|
S4_Choosing_a_Landing_Site_Educator_Guide
Choose a Landing Site Educator Guide
|
|
|
S4_Choosing_a_Landing_Site_Science_Notebook
Choose a Landing Site Science Notebook
|
Setup
The Educator Guide has a script, materials list, and prep directions. Be sure to have it open and ready to help guide you through every activity.
- Revisit the PLANETS Science Series Educator Guide if it's been a week or more since you completed a Science Series activity.
- For this activity you will need Science Notebooks for each youth plus Data Packets, Landforms Glossary, Landing Ellipses, and Mineral Data Sheets for each group.
Guiding Questions
- How can we choose a landing site that will meet our criteria?
- How can we share what we found out?
Youth Will Do
- Integrate their understanding of prior data sets to select where to land on Mars.
- Justify their reasoning about landing site selection and communicate their explanation to others.
Did You Know
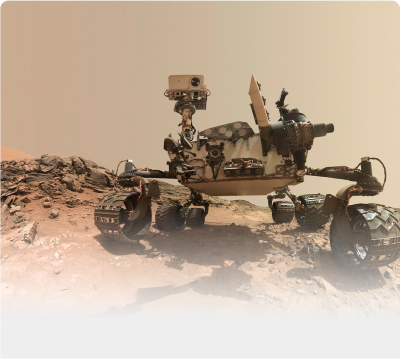
The Curiosity Rover sings itself "Happy Birthday" every year on August 5th. The rest of the year, Curiosity is programmed to collect and send scientific data back to Earth.
Quick Tips
- Youth can present and share in a variety of ways. Here are some options: a list of ranked landing sites, an annotated image or drawing, or an oral or written argument.
- Emphasize how scientists must use multiple sources of evidence when making claims.
Glossary
Data: information that is collected through scientific investigation
Evidence: information or data that supports an idea, claim, or belief
Videos Related to this Activity
Activity Timing
Background Knowledge: Scientific Concepts
Planetary Science and the Study of Mars
If youth completed the Engineering Everywhere unit, Worlds Apart: Engineering Remote Sensing Devices, they learned about three types of remote sensing technologies: telescopes, filters, and LiDAR. The PLANETS Science Series Activities explore similar instruments that help scientists learn more about the minerals and topography of Mars so they can choose a landing site. In these activities, youth learn more about remote sensing tools and techniques that planetary scientists use to understand habitable environments on Mars, and how the planet has changed over geologic time.
Planetary scientists try to answer big questions such as the following:
- How have the planets in our solar system changed over time?
- Did life evolve only on Earth, or is there evidence that life evolved on other planets, too?
This unit focuses on the exploration of Mars. Scientific evidence indicates that Mars may have once had a more Earth-like climate, but now it is a dry and cold desert. Scientists want to know how the climate on Mars changed and whether life could have evolved there. Mars is also closer to Earth than many other planets, making it easier to send future missions there.
One reason to land on Mars is to collect samples that can be returned to Earth for detailed analysis in a laboratory. For example, volcanic rocks contain minerals that can be analyzed to find out how old the rock is, allowing scientists to get a much better understanding of how Mars changed over time. Some types of sedimentary rocks may contain organic (carbon-based) materials that give clues to whether life could ever have evolved on Mars. Even without returning samples to Earth, landing robotic rovers on Mars allows scientists to explore new areas and understand the processes that shaped the surface of the planet. Some of the most scientifically interesting locations to visit are places like impact crater walls or canyons where different rock layers are exposed in the walls. Layers of rocks are like the pages in a book that tell the story of the geologic history of an area.
But steep canyons and crater walls are dangerous places to try to land a spacecraft. There is a tradeoff between sites of interest to scientists and sites that are safe to land on. The ideal site has a broad, flat area to land on, as well as interesting minerals and landforms nearby, so scientists can learn more about the planet’s past. In the following activities, youth will learn how they can use remote sensing to identify such a site.
Landing Sites on Mars
To help youth work through the activities, it is helpful for educators to have some background knowledge about each of the locations that youth will be studying. All of the following locations are actual Mars rover landing sites or have been considered as landing site candidates.
Note: These descriptions are intended for educators, and include the “answers” for each of the sites. Youth-oriented descriptions of the sites are included in the activities.
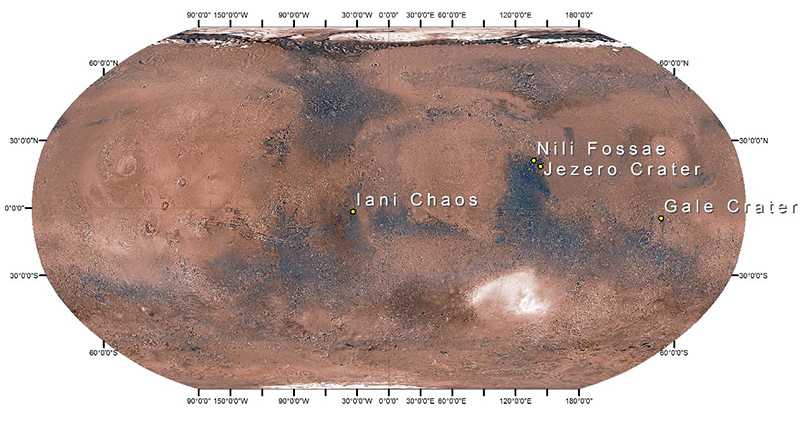
Site 1: Gale Crater
The Mars Science Laboratory rover Curiosity landed in Gale Crater in 2012 and continues to explore. Gale is a large impact crater. This site is interesting because the middle of the crater contains a mountain that is 3.4 miles (5.5 km) tall and is made of layered sedimentary rocks. The layered rocks have spectral signatures of clay minerals and sulfates, indicating multiple different environments involving water. The crater floor is also made of layers of sediment washed down from the crater rim. The floor is flat and safe for landing. Near the base of the mountain, there are black sand dunes containing olivine and pyroxene.
In the HiRISE insets provided to the youth, location A shows layered rocks and a channel carved into the rocks by water and filled with sediment. Location B shows the black sand dunes.
Site 2: Jezero Crater (Yez-er-oh or Jez-er-oh)
NASA chose the Jezero Crater as the landing site for the Perseverance rover which landed in February of 2021. It is a large impact crater. It is interesting because the northwestern rim of the crater is breached by an ancient river channel which ends in a fan-shaped deposit of layered sedimentary rocks (possibly an ancient river delta). River deltas form when flowing water carrying sediment empties into a standing body of water like a lake. The Jezero delta contains clay minerals, and some of the crater floor deposits contain carbonate minerals. Much of the crater floor is covered by an old lava flow, which forms a flat surface with many small impact craters.
In the HiRISE insets provided to the youth, location A shows complex layers deposited in the delta. Location B shows the edge of the heavily cratered lava flow unit, with many small dunes at its base.
Site 3: Nili Fossae Trough (Nee-lee Foss-eye)
The Nili Fossae Trough was originally considered as a landing site in the Mars 2020 mission. However, Jezero Crater was selected as the landing site for Perseverance rover. Nili Fossae is located in a large, long valley, called a graben, or trough. The floor of the valley contains a lava flow and some clay minerals. The eroding walls also expose clay minerals, possibly formed by circulating hot water. Olivine (a mineral that comes from volcanoes) is also exposed in the walls. The higher ground outside the valley is very rugged and resistant to erosion because of a lava flow.
In the HiRISE insets provided to the youth, location A shows some large sand dunes.
Location B shows the edge of the cratered lava flow unit.
Site 4: Iani Chaos (ee-Ah-nee Kay-oss)
This area is one of several “chaos” terrains on Mars, which are areas where a huge amount of underground water was released, resulting in giant floods and the collapse of the area where the water was stored. Within Iani Chaos, there are layered deposits of sulfate minerals. The location in the Student Data Packets was chosen as an example of a scientifically interesting location that would not make a good landing site because it is too rough and not safe to land there.
In the HiRISE insets provided to the youth, location A shows an outcrop of sulfate-bearing fractured rock. In the CTX data, layers can be seen in the rocks at this site, but at this higher resolution, we can see that there aren’t obvious finer-scale layers. Location B shows the edge of a cratered lava flow unit, partially covered by small dunes.
Types of Remote Sensing Data
The chart below is intended for the educator’s background knowledge, but youth may also benefit from summarizing the data types in this way.
Data Type
What the Data Tell Us
Nasa Remote Sensing Tools
Visible Images
what the planet’s surface would look like to our eyes
· Viking—Low spatial resolution color
· Context Camera (CTX)—High spatial resolution black and white
· HiRISE—Extremely high spatial resolution black and white
Topographic Maps
how high or low the surface of the planet is
Mars Orbital Laser Altimeter (MOLA)
Spectroscopic Data
what minerals are present, which can tell us about the planet like in the past
Compact Reconnaissance Imaging Spectrometer for Mars (CRISM)
The Data Packets contain remote sensing data for the different Martian sites described above. Each data type provides a different “piece of the puzzle” when using them to answer questions about Mars’ geologic history. Youth will study the data types to become familiar with the concepts, and then use them all together to choose a landing site for a sample return mission.
Visible Light
Images collected using visible light can be displayed as either black-and-white images or color images that show what the surface would look like to a human observer. For example, the reddish colors are the actual colors of Martian rocks. In the 1970s, the Viking orbiter acquired visible-light images covering the entire planet. These images are useful to get an overview of large areas and for comparison to more recent remote sensing data.
Because Viking was a 1970’s era spacecraft, the images are not as high in quality as images from modern spacecraft. Visible-light images covering the entire planet have also been acquired with the Context Camera (CTX) onboard a satellite called the Mars Reconnaissance Orbiter, which started orbiting Mars in 2006. This camera acquires only black-and-white images, but they are better quality images, with more details about surface features, than older Viking images.
The Student Data Packets include annotated versions of the CTX images, with key geologic features labeled. A small portion of the surface of Mars has been observed at extremely high resolution using the High-Resolution Imaging Science Experiment (HiRISE). This camera also acquires mostly black-and-white images, but they have a resolution of 25 cm per pixel, as compared to 6 meters per pixel with CTX.
Laser Light (LiDAR)
Laser light can be bounced off an object and used to determine how far away it is (because we know how fast light travels). This is called Light Detection and Ranging (LiDAR) technology. If you are flying over a planet’s surface with a LiDAR instrument, you can bounce laser light off its surface and determine the elevation and the shapes of objects on the surface, which are called landforms. A map that shows the elevations in an area is called a topographic map. The Mars Orbiter Laser Altimeter (MOLA) is a LiDAR instrument that was on the Mars Global Surveyor (MGS) satellite, which operated in orbit around Mars from 1997 to 2007. MOLA mapped the topography of the entire planet.
In the Student Data Packet, MOLA topographic maps are shown for each of the potential landing sites. The colors on the MOLA maps correspond to different elevations, and contour trace lines of equal elevation. Areas in the images that have the same color and widely spaced contour lines are at the same elevation. Areas where the color changes and the contour lines are close together are steep slopes.
Infrared Light
The Compact Reconnaissance Imaging Spectrometer for Mars (CRISM) is an instrument that can acquire images in the visible and infrared parts of the electromagnetic spectrum. By taking hundreds of images of the same location at different wavelengths of light and stacking them, this instrument creates a data set in which each pixel contains a spectrum that provides clues about what minerals are located there. This data can be used to make maps that show the location of volcanic minerals and water-related minerals that indicate the past presence of liquid water, hot springs, or lakes on the surface of Mars.
In the Science Activity 3 Data Packet, the patterned areas on the mineral maps correspond to locations where specific minerals are detected with the CRISM instrument. For each pattern, there is a graph of the laboratory spectrum of the important mineral. Youth can compare these spectra to those on the Mineral Fingerprints Handout to identify the minerals.
Video Resouces
Learning Pathways
In this unit, youth think and work like scientists and engineers as they investigate and use real NASA data about Mars to select a scientifically interesting landing site and design remote sensing devices. In both the science and engineering pathways, youth have the opportunity to build their problem solving, teamwork, communication, and creative thinking skills.

Science Pathway
Planetary scientists often use the technologies developed by engineers to further their understanding of the planets, satellites, and smaller bodies in the solar system. Engaging in the study of other planets provides scientific insight into to the origins of features on Earth.
The science pathway supports youth exploration in the field of planetary science. They participate in a fictional NASA mission to choose a landing site for a Mars rover. Youth engage with and interpret Mars data captured during actual NASA missions. In these activities, youth learn about the data obtained by remote sensing tools and techniques developed by engineers. They explore how planetary scientists use data from these technologies to understand habitable environments on Mars, and how the planet has changed over geologic time.
Activity 1: Remote Sensing and Mars
Youth use images of Mars to find a landing site for a rover of scientific interest to NASA that may indicate past water.
Activity 2: Landing Site Topography
Provides opportunities for youth to compare topographic features of four potential landing sites.
Activity 3: Mineral Fingerprinting
Youth identify minerals that indicate past water or volcanism.
Activity 4: Choose a Landing Site
Youth combine all data to recommend the safest, most interesting landing site.

Engineering Pathway
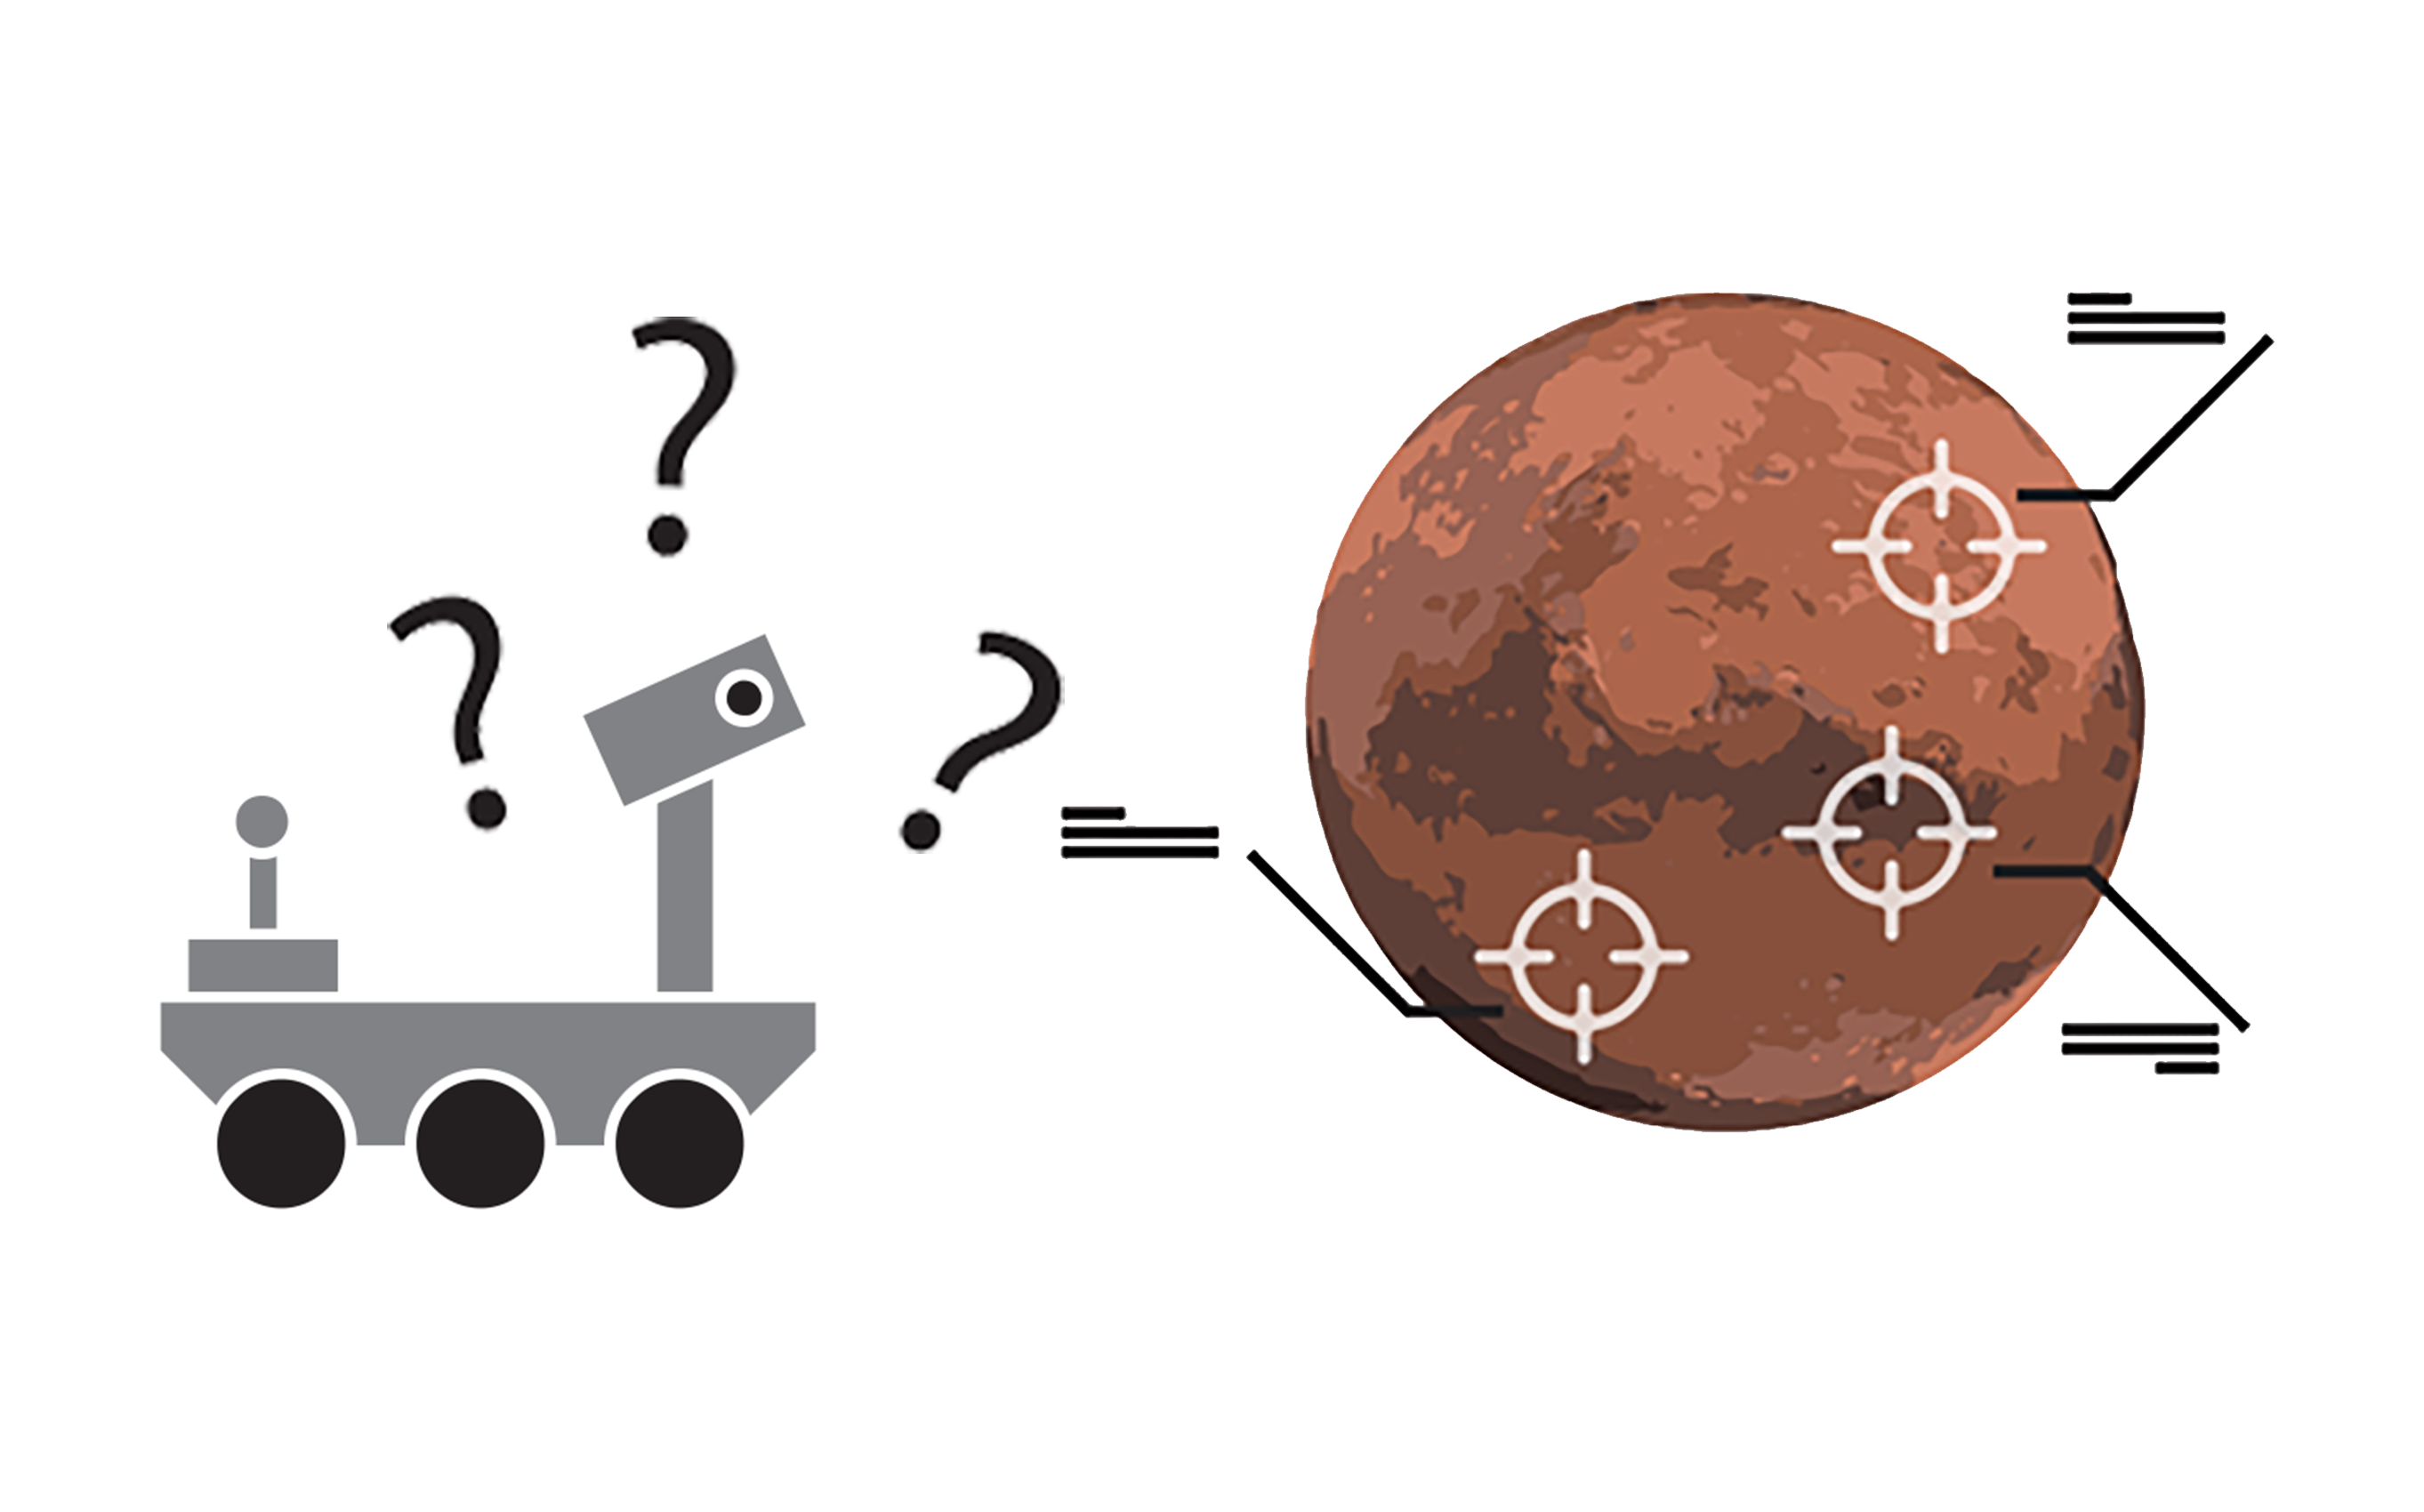
Remote sensing engineering is an interdisciplinary field that deals with the collection of data remotely, or from a distance. It has a wide variety of applications, from creating models of cities or natural landscapes to helping scientists predict the effects of climate change to precisely tracking orbiting satellites. Remote sensing engineers use techniques from many fields, such as cartography, optics, civil engineering, software engineering, and computer science.
In the activities of this pathway, youth are part of a team on a fictional NASA mission. They will engineer remote sensing devices to gather and visualize information about the surface of Mars. The data they collect will help the scientists meet their scientific goals, such as choosing a landing site that is best suited for gathering data on the geological features of the landscape and looking for evidence of water.
Prep Activity 1: What Is Engineering?
Youth are introduced to the Engineering Design Process as they work together to engineer a tower to support a model antenna.
Prep Activity 2: What Is Technology?
Youth match technologies based on the problem they solve and imagine ways to improve the newer version.
Activity 1: Looking Beyond
Youth use mirrors to change the way light travels in order to see hidden objects.
Activity 2: Secret Messages
Youth explore how manipulating light and color can help them interpret information from a distance that would otherwise be difficult to see.
Activity 3: Taking Shape
Youth engineer a technology that models LiDAR to gather topographical information about the features of a surface.
Activity 4: Create a Remote Sensing Device
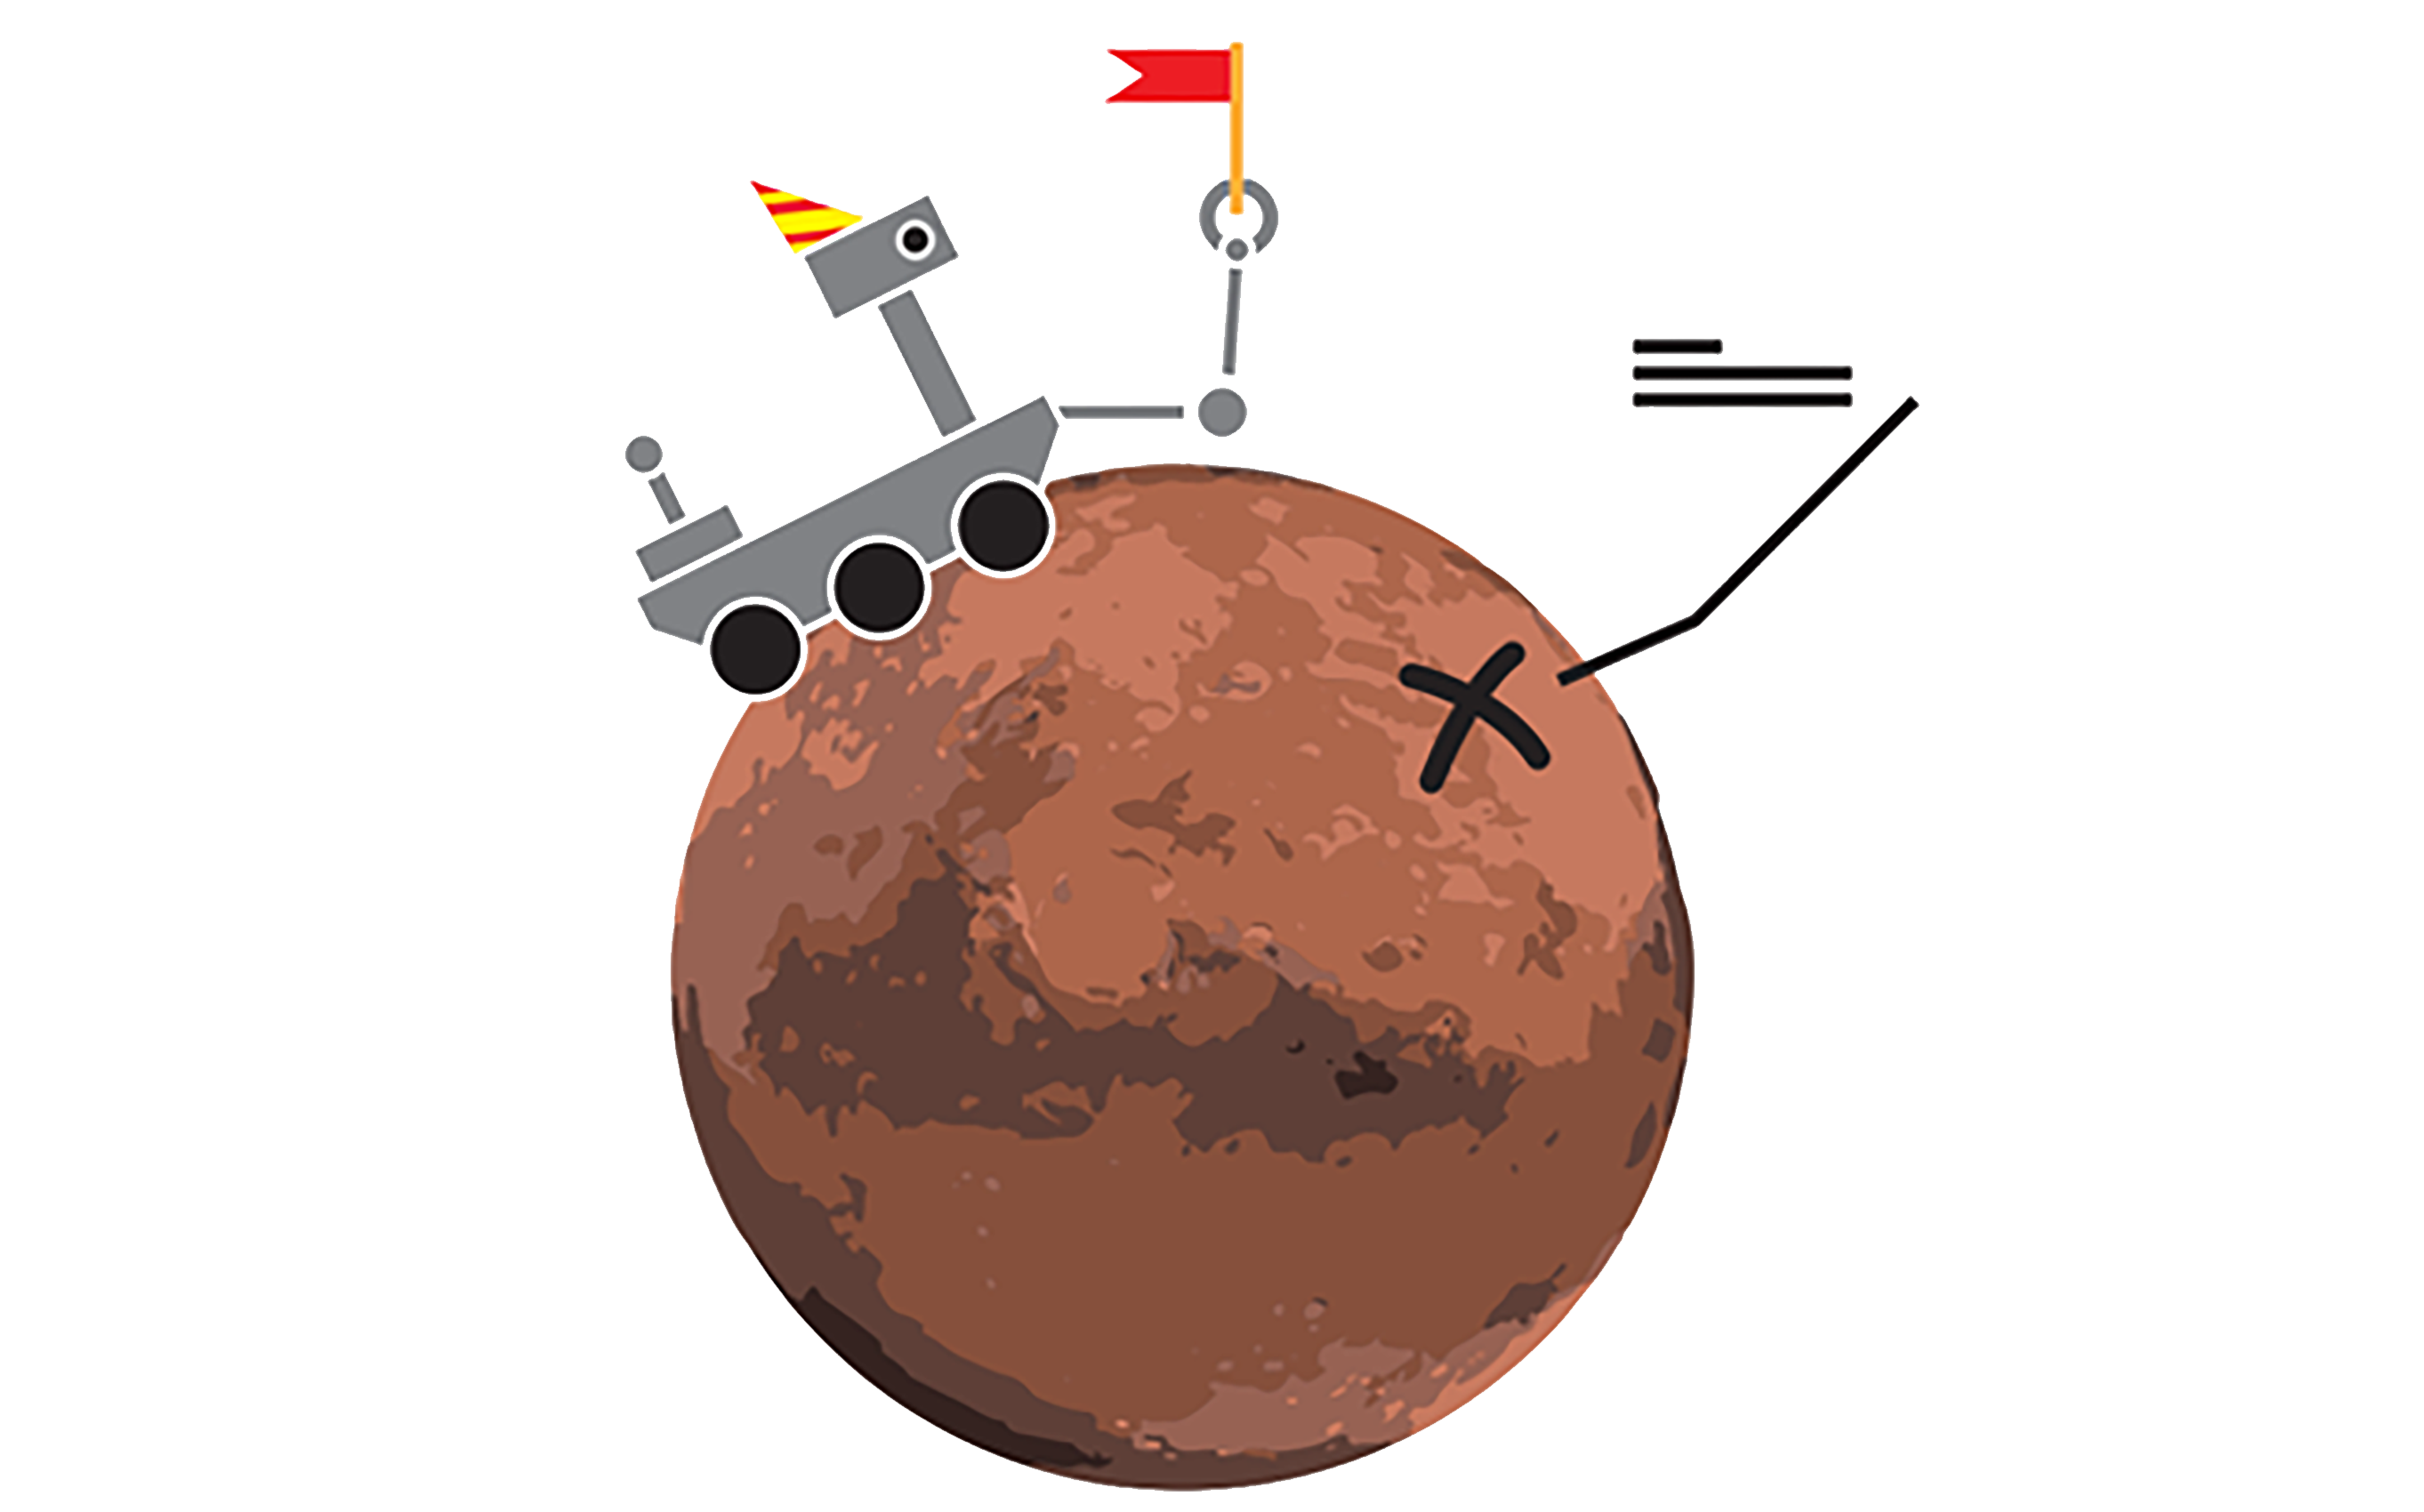
Youth work in groups to create remote sensing technologies that can collect data about the Mystery Moon.
Activity 5: Improve
Youth will improve their remote sensing devices and use them to take a final reading from two locations on the Mystery Moon.
Activity 6: Engineering Showcase
Youth communicate their knowledge of remote sensing devices and the information they gathered about the Mystery Moon at the Engineering Showcase.
All Downloads
These resources provide all the information you need to teach the Science, Engineering, and At Home Activities in this unit.
Science
| Download Name | Description | File Data |
|---|---|---|
|
Remote Sensing - Science Unit - All Files
All Science Files
|
These resources provide all the information you need to teach the Science Activites in this unit.
|
|
|
Remote-Sensing-Science-Educator-Guide_3
Science Educator Guide
|
This guide explains each of the Science Activities in this unit.
|
|
|
Remote-Sensing-Science-Notebook
Science Notebook
|
Learners record information in this notebook as they complete Science Activities.
|
|
|
Remote-Sensing-Science-Data-Packet
Data Packet
|
Learners explore information in this Data Packet to learn about the landforms, topography, and minerals of Mars.
|
Engineering
| Download Name | Description | File Data |
|---|---|---|
|
Remote Sensing - Engineering Unit - All Files
All Engineering Files
|
These resources provide all the information you need to teach the Engineering Activities in this unit.
|
|
|
Remote-Sensing-Engineering-Educator-Guide
Engineering Educator Guide
|
This guide explains each of the Engineering Activities in this unit.
|
|
|
PLANETS_Remote_Sensing_Engineering_Notebook
Engineering Notebook
|
Learners record information in this notebook as they complete Engineering Activities.
|
|
|
Remote-Sensing-Engineering-Journal-Spanish
Engineering Notebook in Spanish
|
Learners record information in this notebook as they complete Engineering Activities.
|
|
|
Engineering-Design-Process_Poster
Engineering Design Process Poster
|
This poster shows the steps of the process learners use to engineer technologies.
|
At Home
| Download Name | Description | File Data |
|---|---|---|
|
Remote Sensing Home - All
All At Home Files
|
These resources provide all the information needed to complete the at-home activities.
|
|
|
Remote_Sensing_Investigation_Guide
Investigation Guide
|
This guide explains how to make a spectrometer and explore light at home.
|
|
|
Remote_Sensing_Investigation_Data_Packet
Data Packet
|
This packet contains light graphs that can help determine the minerals on Mars.
|